Add GSAP’s New Animation UI in Webflow Without Code

TL;DR
GSAP’s new animation UI inside Webflow revolutionizes how designers create motion, no code required. The update replaces the old vertical Interactions panel with a sleek horizontal timeline, giving users precise control over triggers, sequencing, and easing. Built directly into Webflow, the GSAP UI delivers After Effects–style control while maintaining Webflow’s accessibility and performance standards. The result: professional-grade animations, smoother UX, and higher conversions, without a single line of JavaScript.
How to add GSAP’s new animation UI in Webflow without writing code
GSAP Webflow is finally here, and with a brand new animation UI, making beautifully animated websites without custom code has never been easier.
Ever scrolled through a website and felt a sense of utter zen take over? The animations are smooth as silk, and suddenly you want to scroll forever just to feel your brain relax. Chances are, that’s thanks to GSAP animations.
GSAP, or GreenSock Animation Platform, is a powerful JavaScript animation library that has been powering the internet's most beautiful websites for the last few years. It’s fast, flexible, reliable, and quickly became a fan favourite for industry leaders.
Until now, unlocking the power of GSAP in your Webflow projects meant custom code and a level of technical expertise far out of the common Webflow user's reach. Now, with GSAP's new Webflow UI integration, the next level of Webflow animations just got a whole lot easier.

How GSAP animations outperform native Webflow interactions in flexibility and performance
The last major update to Webflow's interactions system was in 2017. The classic Interactions 2.0 (IX2) panel was powerful at launch, but it could quickly get messy, and as the community and skill level of its users exploded, the IX2 model soon became a source of frustration. Animations were managed through a vertical stack, and layering multiple effects on the same element often caused unexpected clashes and hours of trial-and-error. If not done right, performance could take a hit, and the preview was sometimes unreliable, making precise animations a real challenge and often limiting designers' visions and causing friction between them and development teams.
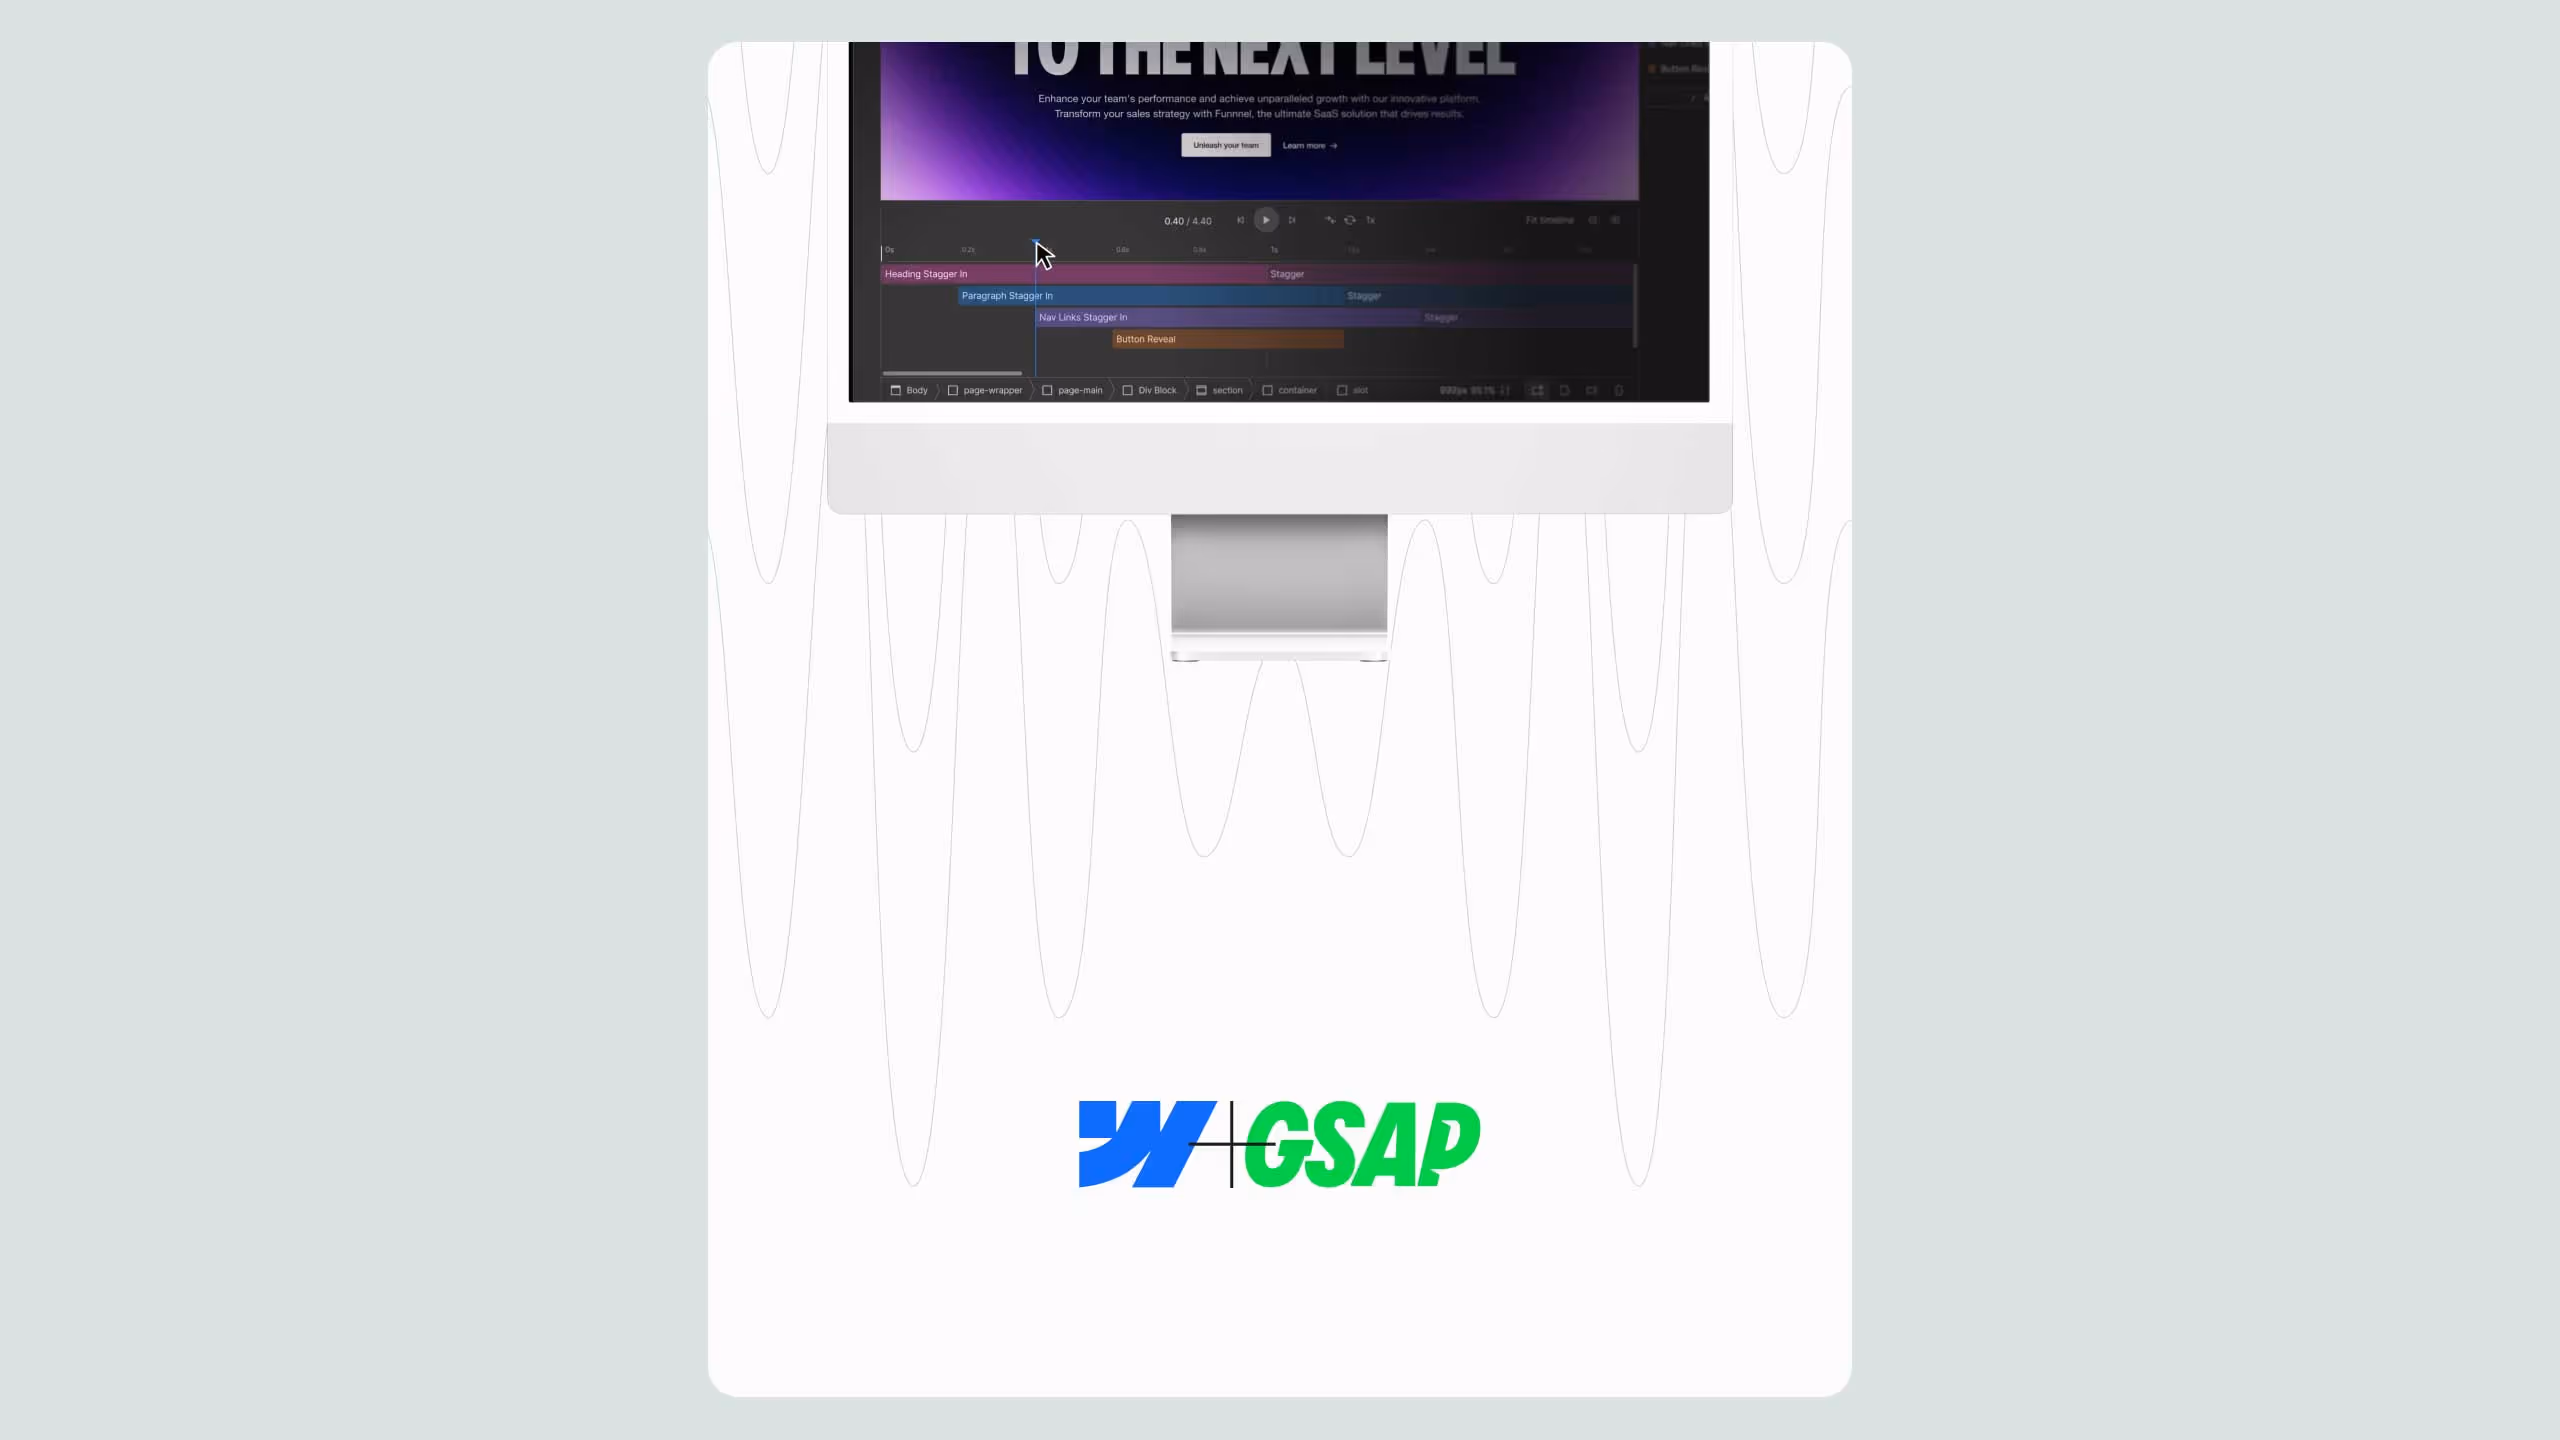
The new GSAP Webflow UI finally matches the industry standard UI used in tools like Adobe After Effects, offering a clear horizontal timeline. Instead of the old Webflow vertical stack (where everything just happened at once), the horizontal timeline lets you see exactly when each animation kicks in. Animation options have also been streamlined. Instead of juggling nine different element triggers and four page triggers, you now get a simpler experience with the core four: click, hover, page load, and scroll. For most Webflow users, these cover 80% of real-world use cases, all without touching code.
It also provides better targeting, allows selection by class or even by element ID, a feature not possible with classic Webflow interactions. This means more control and cleaner builds, even for complex projects. In the previous version of Webflow, you were either stuck with pre-built animations that offered limited control, or you had to build everything from scratch.
Take the classic “fade up” animation, for example. Previously in Webflow, you could use the pre-built fade up option, but your choices were limited to just offset and delay; there was no way to customise duration, easing, or anything else. The alternative was to build the effect from scratch: set your element to 0% opacity, move it down, and then animate it back into place, which was fiddly and time-consuming.
Now? With GSAP’s new Webflow UI, you just click to start a fade, then tweak every detail visually. Duration, easing, start and end points, all of it. Somehow it’s easier and more powerful, all in one go.
GSAP’s new animation UI for Webflow
When Webflow announced its acquisition of GSAP at last year's Webflow Conference, it seemed like a match made in heaven. Not only would Webflow get a much-needed update to its interactions, and GSAP would get a visualisation UI that made its animation library as easy to use as Webflow made front-end development
Since its release, you can now create professional-grade animations in Webflow, no custom code or JavaScript needed.
Getting started couldn’t be easier:
- Go to the Interactions Panel: Open the right-hand tab in Webflow and click on Interactions.
- Select GSAP: At the bottom dropdown, switch from the classic interactions to the GSAP option.
- Choose Your Element: Pick what you want to animate. Let’s say, all your H1 headings.
- Set the Trigger: This can be page loads, hover, scroll or much more.
Here’s where the fun starts: The timeline
The real game changer is Webflows GSAP horizontal timeline. Instead of the old vertical stack (where everything just happened at once), the timeline lets you see exactly when each animation kicks in. You can stagger, overlap, or perfectly time every little detail. Doing this allows you to control where your users' attention goes as they will naturally be drawn to the movement of each element.
Let’s say you want your H1 to fade in first, then the subheading slides in just a split second later, followed by your button. With the GSAP timeline, you simply drag each animation block along the timeline so they start exactly when you want. You can:
- Stack animations back-to-back: Create that classic “cascade” effect. Headings, then text, then button, each one flowing in order.
- Overlap effects: Have your button start fading in while your subheading is still sliding. Makes everything feel more dynamic and less robotic.
- Stagger multiple elements: Select a group of items (like a grid of cards or a list of features) and stagger their entrance so each one pops in right after the last, not all at once.
The best part? It’s so easy, just like a video or audio editor, you can drag and stretch each element into place and preview in just a few clicks, all within your Webflow project.
This kind of granular control used to be the domain of pro animators and developers. Now, with GSAP’s timeline in Webflow, anyone can make their site feel like it was built by a top motion studio.
Quick tip: Spend a little time playing with the timeline and staggering your elements. Even subtle differences in timing can make your site go from “meh” to “wow” instantly.
Keeping your animations organised
Webflow also introduced a new tab on the left for all your animations. If you remember hunting around for the lightning bolt icon, those days are over. Now, every animation you make is right there in the left panel, easy to find, edit and reuse whenever you need.
Benefits of going no-code with GSAP
Here’s why using the new GSAP Webflow UI is such a win.
Complete visibility
First off, there’s zero code. You can actually see what you’re doing, instead of adjusting, tweaking, publishing and reviewing your code repeatedly. If you’re coming from Webflow’s old interactions, you’ll notice GSAP just works. It’s smoother, way less buggy and gives better results in half the time.
Security & scalability
Since GSAP is baked right into Webflow now, you don’t need to mess about with adding custom scripts or worrying about things breaking. You can even apply the same animation to multiple elements at once, thanks to the improved targeting.
Fewer barriers to entry
GSAP is no longer just for Webflow pros. Marketers, editors, and people who are new to Webflow can all jump in and get animations working. And because it’s easier to control, it’s better for accessibility and site performance too.
Increased conversions
The days of static websites are long gone, but unfortunately, they've been replaced by sites that are completely over-animated, messy, and sometimes just plain unusable websites. We’ve all seen that spinning H1 headline on a local mechanic’s website, right? Subtlety is the real secret, and GSAP’s smoothness is the best way to nail those chef’s kiss micro-interactions that build trust and turn visitors into customers.
The power of GSAP, the simplicity of Webflow
In conclusion, the newest upgrade from Webflow IX2 to Webflow GSAP makes it easier for the entire Webflow community, especially those with less technical knowledge, to deliver high-value work for their clients. The new UI lets users tap into GSAP’s lightweight, dependable, and powerful animation library in a simple, accessible way. This is a major upgrade for the platform and one that will keep Webflow developers happy.
If you want to see the newest GSAP Webflow in action, check out the new Interactions with GSAP section of the Made in Webflow community page here.
.svg)
.svg)