
15 Steps to a Perfect Website - Our step-by-step process


TL;DR
Building a website that looks great and performs flawlessly takes structure, not luck. The process starts in Figma with research, brainstorming, wireframes, and a clear UI system across desktop and mobile. Once approved, it moves into Webflow, where a Client-First (Finsweet) style guide ensures clean, scalable development. QA, accessibility, and tutorials wrap it up before handoff. Each step, brief to launch, is designed to align creativity with clarity, making every project easier to manage and deliver.
With years of experience, comes knowledge of shortcuts and best practices. We wanted to take you through our step-by-step process of creating a website and share with you some of our tips and tricks for making not only a great website but - maybe even a perfect one.
For this text, we decided to divide the process into 2 main parts: Design (done in Figma) and Development (done in Webflow).
Design (in Figma)
What is Figma?
Figma is a UI design app. People use it to do various graphic design work such as wireframing websites, designing mobile app interfaces, prototyping designs, and even creating social media posts (we know you make memes in Figma).
- Brief
Let’s start. The first step in any project should be to get a concise brief from the client.
Only after you’ve had a meeting with the client and have received the brief can you actually start the whole process. Brief is the keystone that gives you the “idea” of what kind of website should be made.
Make sure you understand the goal (look, feel, function) your client wants to achieve from their website so that you can save time on feedback and comments later on during the procedure.
- Brainstorming
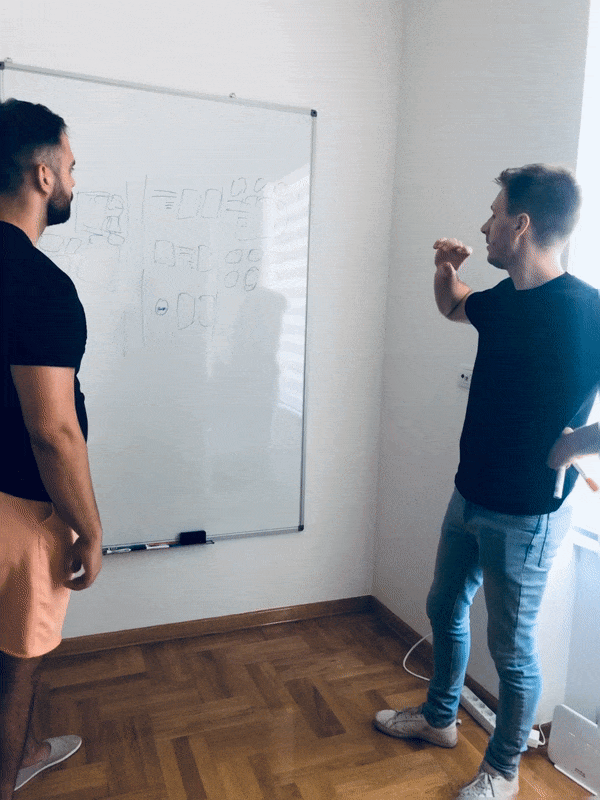
After we get an understanding of the goal and receive the brief, we sit down and discuss ideas. Designers, writers, web developers, managers, each member calling themself a creative - we all sit down and brainstorm.
While doing that it is important (and it is shown to be fruitful) to let your ideas go wild and use every bit of your imagination because even the craziest thoughts can lead you to great solutions.
In terms of design, we cover things such as interactions, animation, what the whole website could look like, how each part of it can function, etc.
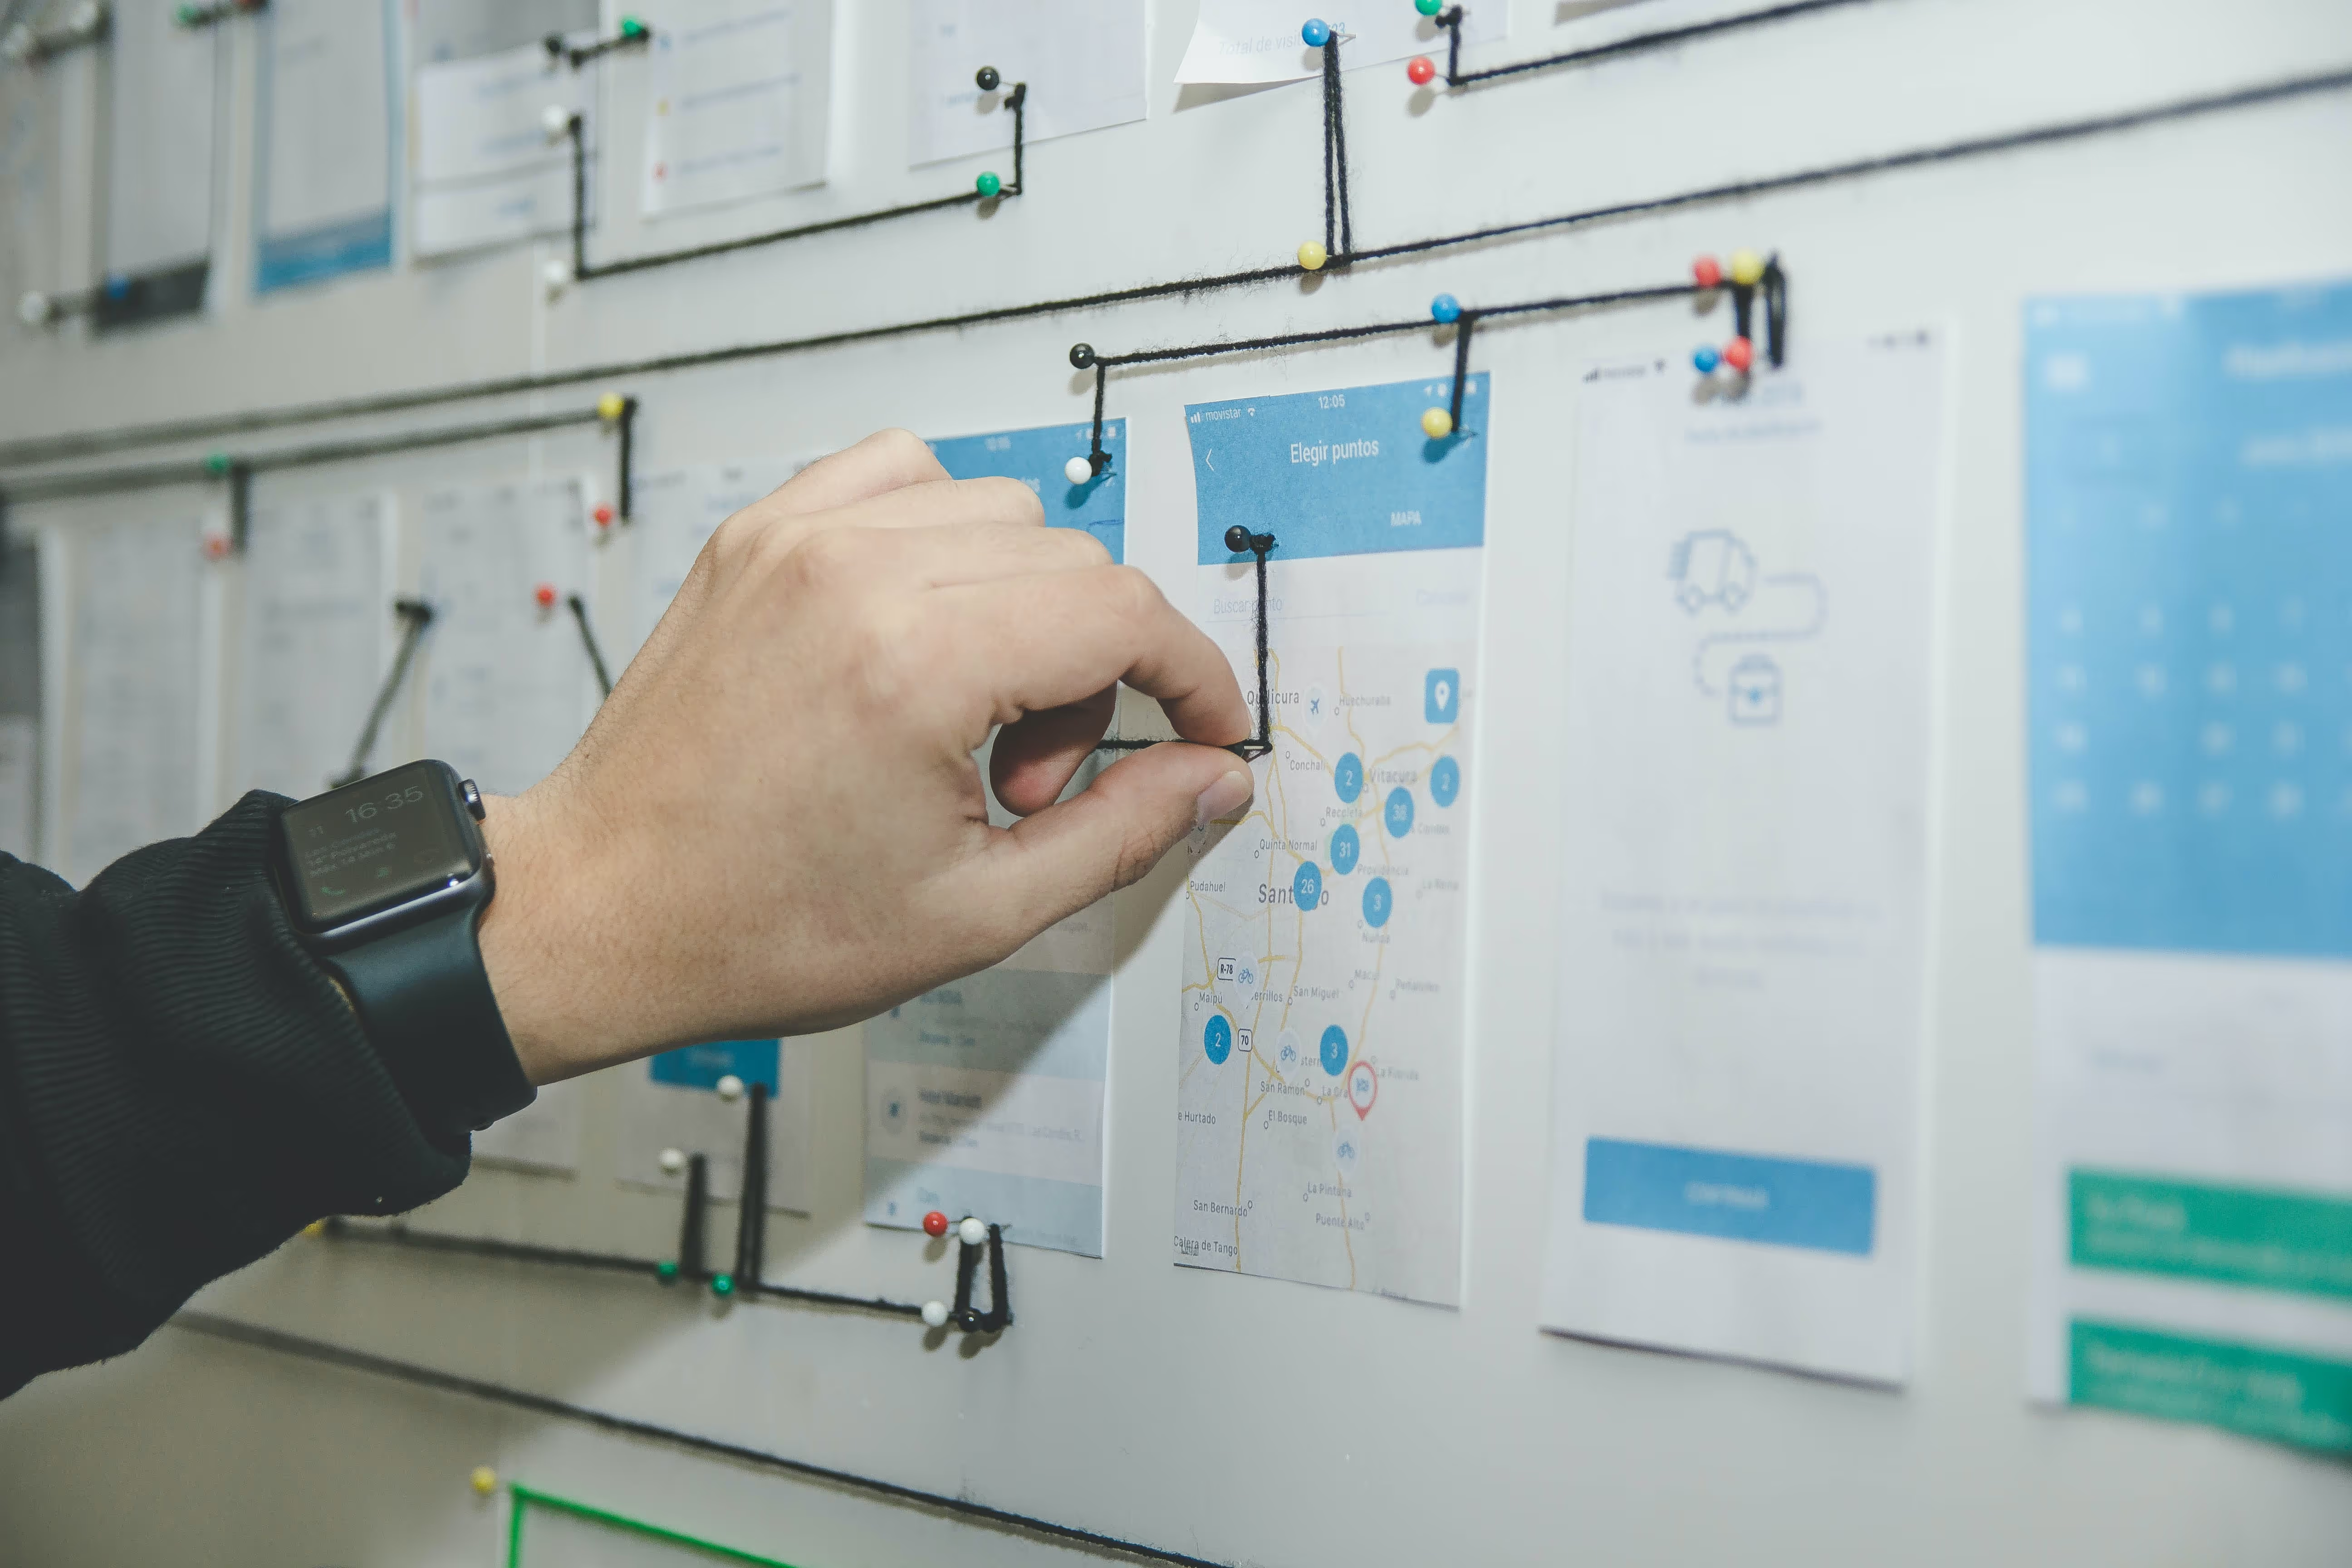
- Sitemap
Once we have ideas grouped and written down, we think about the sitemap. It’s global site navigation where we think about the search flow through every webpage on the website.
Here, we also think about URLs and data under each section.
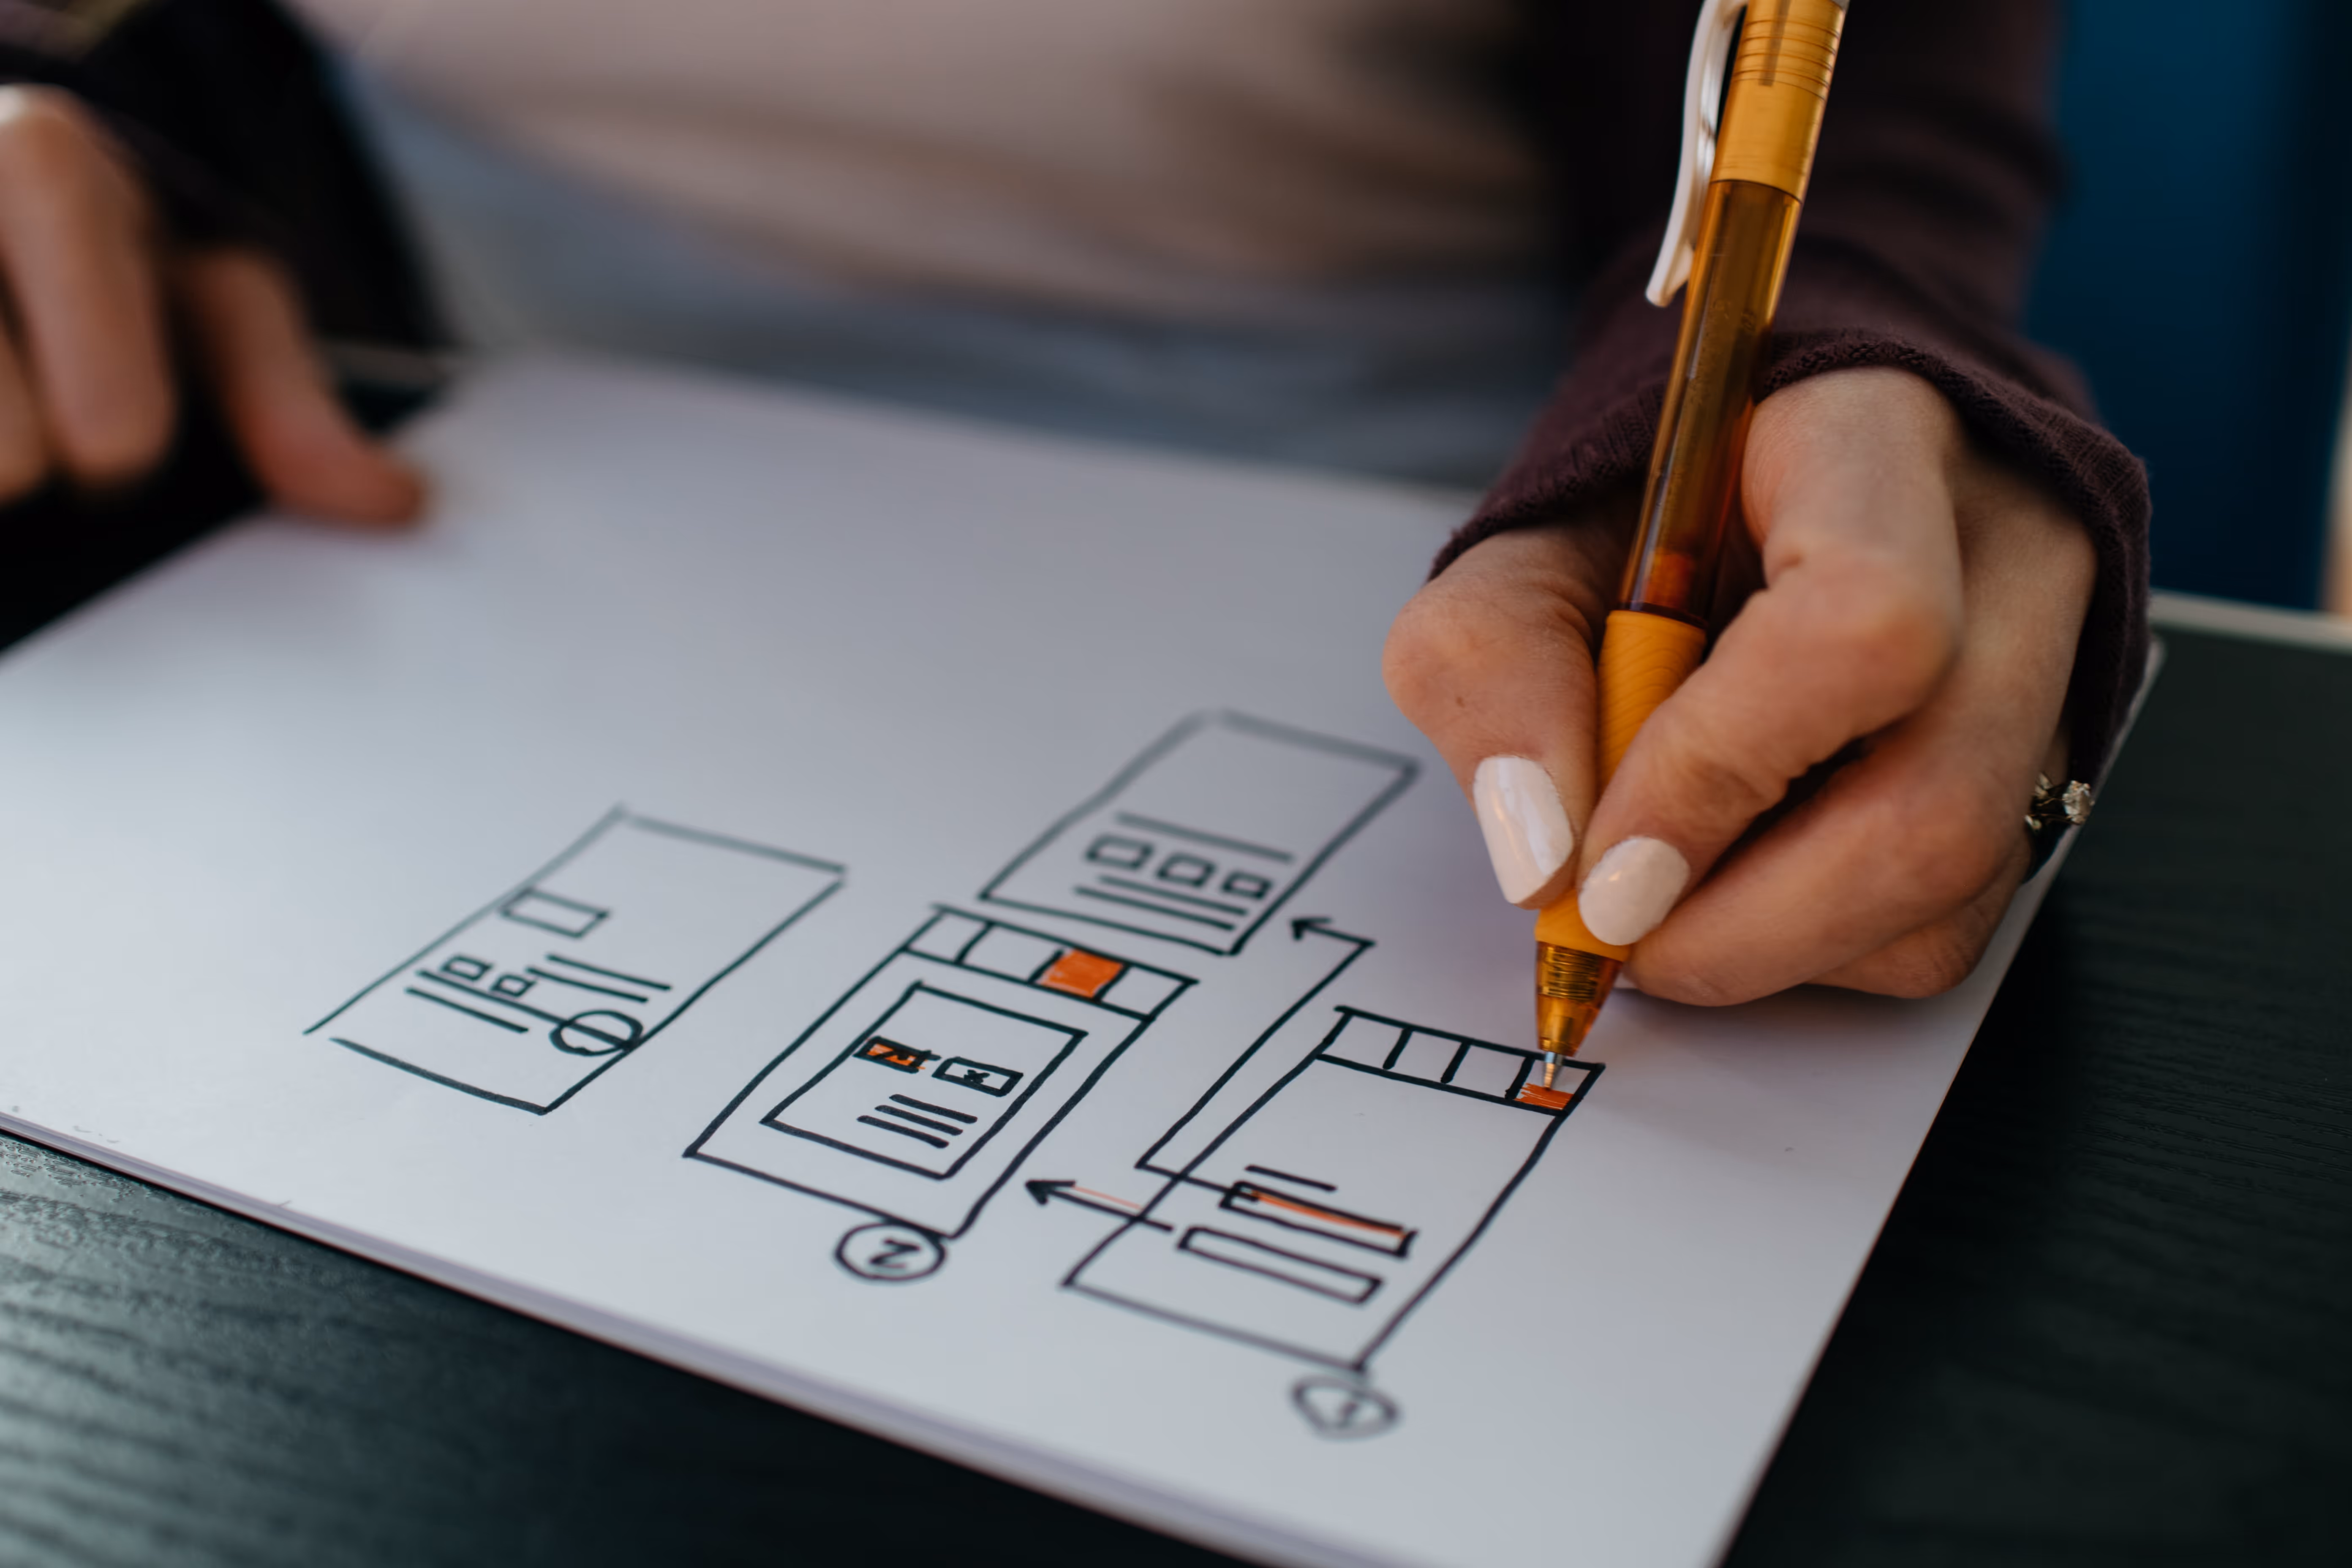
- Wireframe
The wireframe is then done in Figma, and it looks more like a rough sketch. Now it’s officially “on paper” as a foundation for our project. The idea is to see the structure of the website, to understand where we could place each of the previously-mentioned details such as animations, hovers, interactions, where we could effectively position every section and element, etc.
- Presentation No1
Now we have the backbone of our ideas and this is where we present it to the client. With the wireframe, it’s a little easier to explain your thoughts and ideas, and at this point, the client is welcome to give comments and feedback so we can update our work or just agree it is fitting.
Once we get the client's approval and with feedback in mind, we move to the next step.
- UI Design
UI or User Interface design is all about creating a design that will be easy for a user to use, while also being aesthetically pleasing, interesting, and resonating.
Isn't this the best part of any designer's job? We think it is because, in this step, we experiment with everything we have. Testing out the shapes, colors, fonts, copy, media, etc.
This is where we create a solution for every section, covering “why should this element be here and look like this?”
It’s really important to give a reason and function to every element because they are after all made to communicate with people. However, the website doesn't just use words to do this, it communicates through mixed media visuals.
UI design is also called high-fidelity design, meaning this is as close as we can come to the “real deal” or a finished project, without it being developed.
Low-fidelity design, in contrast, is the rough-sketch wireframe we talked about previously.
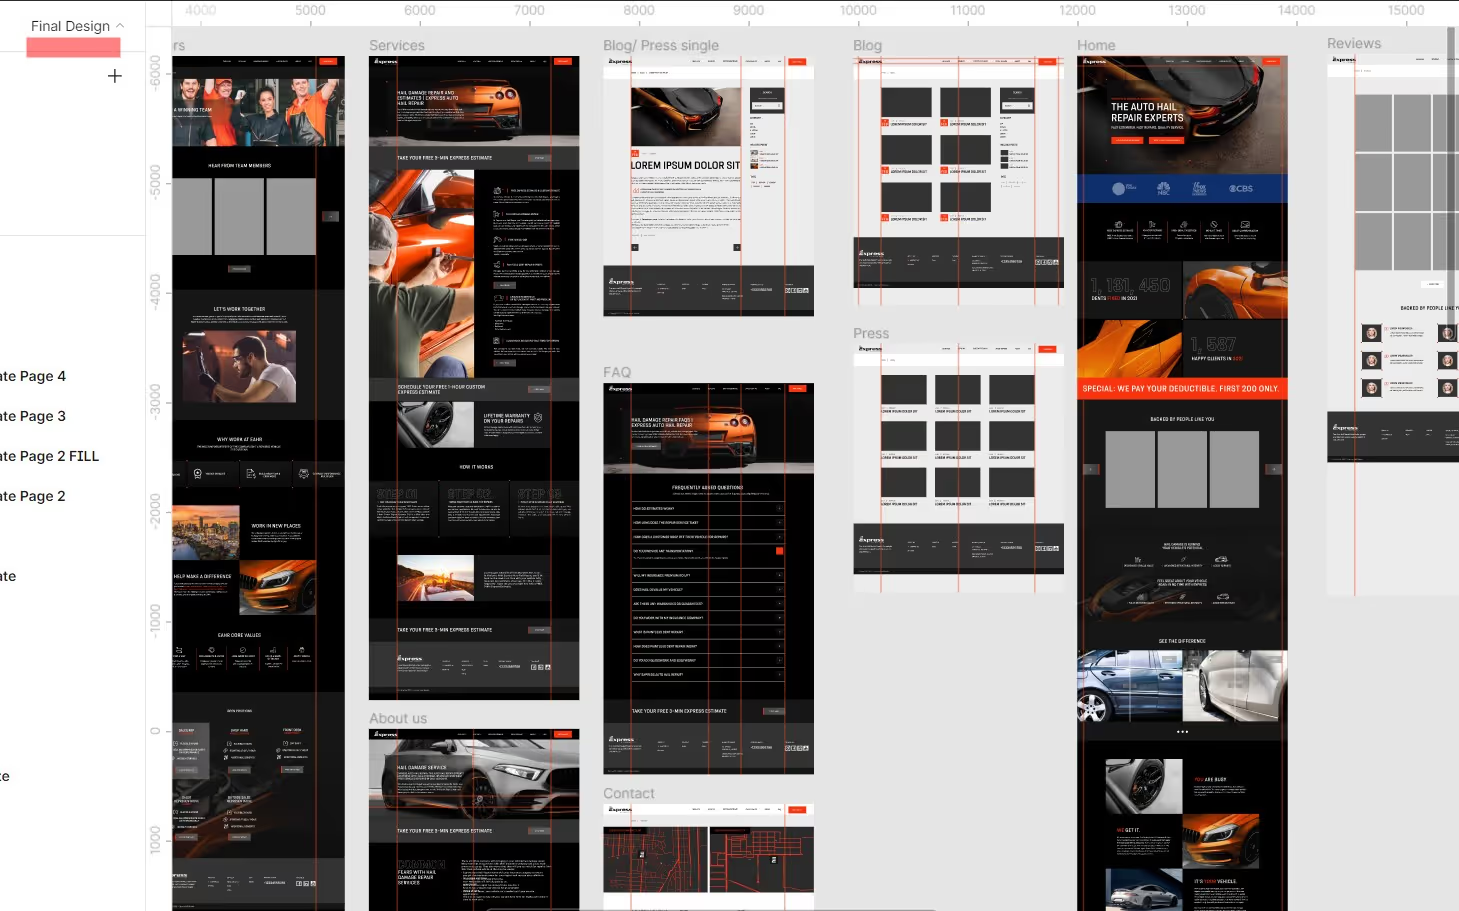
- Desktop/Mobile design versions
This might best be described as a step within the UI step, as it’s a very important aspect of creating a website. Having both desktop and mobile versions is imperative.
Even Google has been rewarding the mobile-first approach when optimizing a website, meaning the mobile version is just as (if not more) important as the desktop version.
Also, pay attention to the screen sizes. People can see the results of your work
on a 4.5-inch mobile screen, on an 8-inch tablet, a 13.3-inch Mac Book Pro, or a 19- to 34-inch desktop. That makes a really big difference. So, making it function perfectly in any given size is a quality of superb design that users appreciate.
- Presentation No2
With our high-fidelity design done, we have another meeting with the client, where we now show the final design solution that waits for approval to be developed. We sometimes even do a prototype in Figma, if necessary (usually when we design apps).
- Comments & Feedback
At this point, we want to hear everything the client thinks about the website, but we’re looking at objective feedback. That includes comments on elements that can damage functionality or aesthetics, or won’t go well with the identity and target audience of the client’s brand.
We ask clients to give us specific and logical reasons for changes they want in design the same way we provide reasons for every element we’ve placed there. As problem-solvers, we like to hear that color doesn’t suit their values more than just “We don’t like this color”.
After feedback and updates (if any) we conclude that the design rocks and is ready to be put into the hands of developers.
Getting design approval is in the top 5 most exciting moments in life, right?
Now, let’s make it live!
Development (in Webflow)
What is Webflow?
Webflow is a no-code web design tool used for visual web design. You can use it for designing responsive websites, eCommerce sites, blogs, landing pages, etc. In addition to this, it also has CMS (content management system), and it's a hosting platform.
- Assets
The first step in the development process is to provide the developer with all the assets (font, color, copy, etc.) The assets will then be uploaded to the website.
- Styleguide in Finsweet
We create a styleguide, separate H1 to H6, fonts in WOFF format only, and export images - if needed.
The developer will then create his own styleguide in Finsweet (a webflow-exclusive agency that designs and develops sweet expert level websites). This helps with website organization and optimization.
- Page development & responsiveness check
After the upload of assets, the developer starts developing webpages. Usually, we start with the Homepage, but you can decide to start on any page you like!
The important part of this step is to, once more, make sure the website is responsive for both small and big screens - aka, mobile, tablet, and desktop optimized. An optimized website is probably the most lovable thing for users.
- Website check and QA
After the development of each page is done, we do a website check to make sure everything works properly, aka: QA. Qualitative analysis ensures everything looks and works correctly on all relevant devices and browsers.
We make sure the accessibility is there so that people with certain difficulties can still use the website with ease. We check for speed as well, as the pages must load quickly - otherwise you’ll lose website visitors. Today no one has time to wait for the page to load, so speed is one of our favorite qualities.
During this process, the developer follows the webflow checklist so as not to miss anything.
- Presentation No3
Once the website is tightened and secured to function with clockwork precision this is where we present the website for the last time.
What we like to do is create a video presentation-tutorial, where we go through the website, how to use it, how to embed a link, how to update and upload new content, etc.
This makes it easier for the client, but we also like to believe that it shows how much we appreciate doing business with them.
Do you know what are the most important qualities of every designer?
- Thoughtfulness & logical thinking
- Focus on details and
- Understanding of human psychology
And some qualities of a great website design?
- Easy to use by both users and owners
- Self-explanatory form & function
- Resonating with the target audience
- Satisfying their needs & desires
Never forget that a website ends up in the hands of people and there it develops its full potential as a service. That fact should guide you through designing any website (or other web experience).
- Giving it off to the client & closing the project
Once we are done with the presentation and feedback it’s time to send the website to our client’s Webflow, give them access, and close the project. All done!
Conclusion
So..now that you have read our step-by-step guide, how does the whole process seem to you?
It took some practice to come up with a process that is working for us, and what is most important is that we are always looking for improvement. Openness is another quality every creative person should treasure.
Let’s go through the steps one more time:
Design:
-is done in Figma
- Brief
- Brainstorming
- Sitemap
- Wireframe
- Presentation no.1
- UI
- Desktop/Mobile optimization
- Presentation no.2
- Feedback & Comments applied
Development:
-is done in Webflow
- Assets
- Styleguide in Finsweet
- Page development and Responsiveness Check
- Website Check & QA
- Presentation no.3
- Sending it off to the client
- Closing the project
.svg)
.svg)


